How to Enable or Disable Auto-Lock in Windows

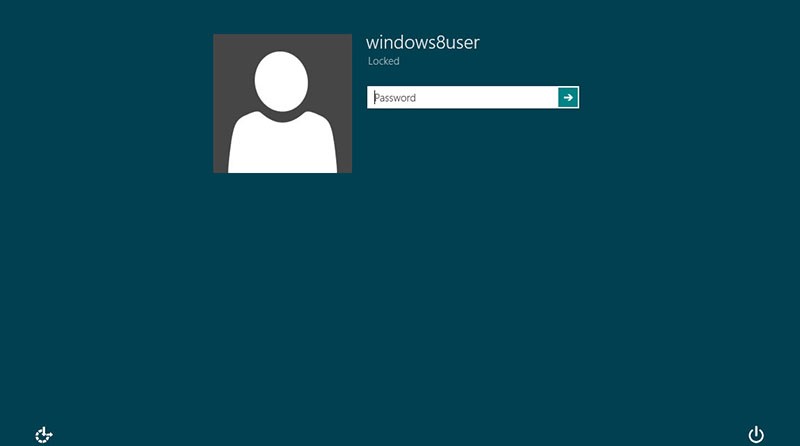
It's always a good idea to lock your PC when you leave it unattended, whether it's a family computer or your work computer. To manually lock down your Windows 10 PC you only need to press the Windows Key + L or Ctrl + Alt + Del combinations. But we don't always remember to do that. It happens. We're only human. Luckily, you can set your Windows 10 computer to lock automatically after a period of inactivity. We'll take a look at the easiest ways to do so in this article.
Table of Contents
How to set your Windows 10 computer to automatically lock using your screen saver
The first and easiest method in this article is an old trick. Here's what you need to do:
First, open Start and enter "change screen saver" in the search box and click on the"Best Match" result. Then the Screen Saver Setting windows will be displayed. Set your screen saver to something from the dropdown list or just leave the "Blank" setting. It doesn't really matter. The important part is making sure to put a check in the "On resume, display login screen" box and set the"Wait" time to however many minutes you wish, then hit "OK".
Now after a period of inactivity that you set up, your screen saver will come up and prompt you to enter your PIN or password to unlock it.
Lock Windows 10 automatically with SecPol
If you're using the Pro version of Windows 10, you can utilize the Local Security Policy feature. To start it, simply hit Windows Key + R to open Run and enter "secpol.msc" and hit Enter.
Next, open Local Policies and find the Security Options, then scroll down and double-click on "Interactive Logon: Machine inactivity limit". Type in the amount of time you want Windows 10 to shut down after no activity. When the Limit Properties window opens, you can enter an inactivity limit between one to 599940 seconds. Don't make the time limit too small or your computer will lock all the time.
When you're done, you have to sign out of your session or reboot your PC for the changes to take place.
Enable Windows 10 auto-lock via the Registry
The above option is great but if you are using Windows 10 Home instead of Pro, you will not have access to the Local Security Policy tool. Luckily, you can do the same thing through the Registry. However, this is method is best left to experienced users. If you're not sure of your computer skills you might just want to use the Screen Saver trick instead. Messing with the Registry isn't for newbies.
-
- To start, create a System Restore Point and have a full backup image ready in case you need to recover your system if something goes wrong.
- Now, hit Windows key + R and enter "regedit" and click OK or hit Enter to open the Registry.
- Navigate to: "HKEY_LOCAL_MACHINE\SOFTWARE\Microsoft\Windows\
CurrentVersion\Policies\System" - Next, generate a new 32-bit DWORD Value called InactivityTimeoutSecs and give it a value between 0 or 599940. Like before, that is the number of seconds of inactivity you want to pass before locking the computer.
- Once that's done you can sign out of your session or reboot your PC for the settings to take effect. If you want to change the time it takes for your computer to auto-lock, just go back into the InactivityTimeoutSecs key and change it.


