Windows is Stuck at Welcome Screen or Lock Screen

Windows freezes can be annoying to deal with – you have to run the Task Manager to terminate a buggy process or run some commands in the Command Prompt. However, what do you do if you do not have access to these utilities? This might happen if your Windows is stuck at the welcome screen or lock screen. Needless to say, this is a major issue because you will not have easy access to your typical troubleshooting tools. In these situations, you might need more detailed guidance on how to try and fix the issue.
Some users report that Windows gets stuck at a black screen before seeing the welcome/login screen – all they see is their cursor moving. However, they cannot click on anything or perform any actions. If you are encountering this issue, you should restart your system in Safe Mode to begin troubleshooting. To do this, restart the machine and then start tapping the F8 key as the system boots up. You should either see Windows loads directly, or you will be prompted to select one of a few options – Safe Mode, Safe Mode with Networking, etc. We suggest choosing Safe Mode. If Windows does not load after this as well, then you might be dealing with hardware failure, and you need to take your PC to professional technicians. If Safe Mode works, then follow these tips:
Use the SFC and DISM Scans
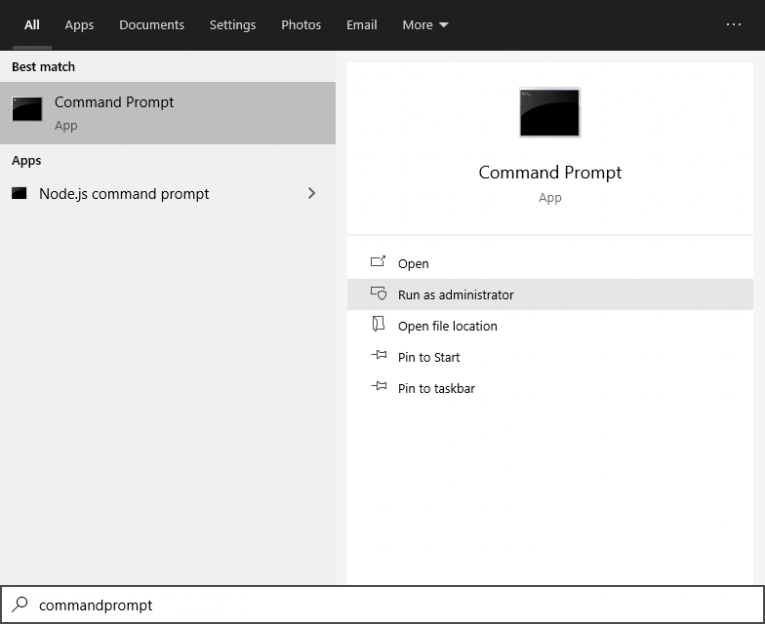
The Windows System File Checker (SFC) combined with the Deployment Image Servicing and Management (DISM) scan can fix all sorts of Windows issues. To use these, open the Command Prompt through the Start Menu and enter the following commands.
- /sfc scannow
- DISM /Online /Cleanup-Image /restorehealth
Make sure to wait a few minutes after executing a command.
Use System Restore to fix Windows Stuck at Welcome Screen or Lock Screen
Another safe bet when it comes to recovering from such unexpected bugs is to perform a System Restore. However, to do this you will need to force Windows 10 to enter into Automatic Repair mode. To do this, you need to perform an interesting set of actions:
- Hold down the Power button to shut down your device.
- Then, turn it back on and wait for the Windows logo to show up – immediately restart the computer.
- Typically, after the first attempt, you should see the Windows Logo accompanied by a message saying Preparing Automatic Repair. If this happens, then you do not need to restart again. However, if it does not, do the same thing you did in step two.
- After the Automatic Repair loads, you should see two options – Continue and Advanced Options. Select Advanced Options.
- Now, click on System Restore to initialize the process.
From the same menu, you could also select the Startup Repair option. This wills can your Windows installation for corrupted or damaged files that need fixing. However, you will need a bootable USB drive with Windows to use this tool.


