How to Back up Your Full System Data to an External Drive

The importance of backing up vital data cannot be overstated. If you still have any doubts, you can ask the millions of users who suffer hard drive failures and fall victims to ransomware attacks every day.
Things are not as bad as they used to be, but even today, people still don't back up their vital data frequently enough. The reason for this is very simple – they think that it's difficult. But is it?
Table of Contents
How hard is it to back up your data?
In the past, creating reliable backups of important data presented a few challenges. For one, the price of data storage devices needed for the backup was significant. In addition to this, simply copying the files from the hard drive and pasting them into the storage device has never been considered the best way of backing up data. For years, secure copies of vital information were created with the help of third-party tools that sometimes prove to be too hard-to-use, resource-intensive, and expensive.
Couple all this with the fact that backing up a large volume of data can never be something you're done with in five minutes, and you'll see why people have been reluctant to form proper backup habits. The thing is, what we've described so far is the process of backing up data in the past. Nowadays, most of the things that made backups so difficult in years gone by are no longer a problem.
External storage devices are much cheaper than they used to be. Backing up files still takes time, but the hardware responsible for transferring and storing data is much more powerful, which certainly helps. Crucially, both Windows and macOS have built-in backup utilities, which means that if you want to store your data on an external drive, you don't need to download, install, and pay for additional tools.
You don't need a degree in computer science, either. Apple and Microsoft have ensured that the backup tools they've included in their operating systems are as intuitive and easy-to-use as possible. This should become apparent with the instructions you'll find below.
How to back up system data on Windows 10
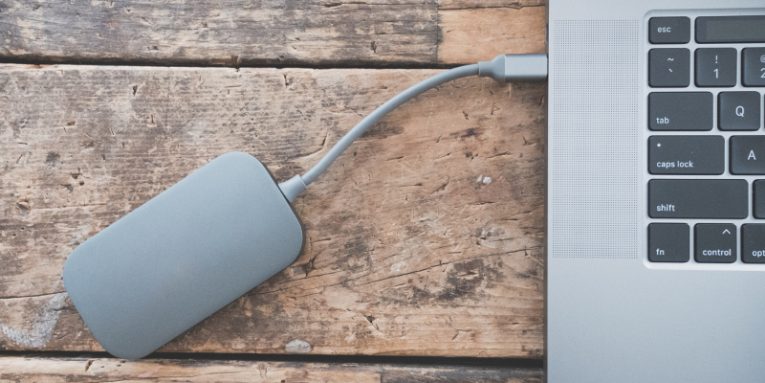
First, you obviously need to make sure that the external hard drive you'll use to store your data is connected to your computer. You're better off using it only to store your backups, instead of keeping other unrelated stuff in it. That way, it'll be much easier to restore the files whenever you need them. Once you're sure everything is ready, you can follow these steps.
- Open the Start menu, and click the Gear icon to launch the Settings app.
- Navigate to Update & Security > Backup or simply use the search box to look for "backup."
- Click Add a drive and choose the external drive you've connected to your PC.
By doing this, your external drive becomes the default place for storing the automatic backups Windows creates. By default, Windows automatically backs up your data every hour, and it's configured not to delete old backups. By clicking More options, you can change these settings, and you can also pick which folders should be backed up automatically.
How to back up system data on macOS?
In true Apple form, creating macOS backups involves fewer clicks and is done through a good-looking interface. Once again, before you start, you need to make sure that your external drive is connected to the machine and has enough storage space available. After that, it's a simple matter of turning on and configuring macOS' Time Machine.
- Go to System Preferences and select Time Machine.
- Click Select Backup Disk… and pick the external drive you've connected to your Mac.
- Make sure the toggle switch is set to On.
Once again, you have an Options menu that lets you choose which directories you'd like to back up. macOS' Time Machine is less flexible in that it gives you fewer options when it comes to how often you'd like to have your data backed up, but apart from that, it works just as well as Windows' backup utility.
Conclusion
If you're determined to store your backups locally, you can still choose from one of the many third-party applications that promise to reliably and securely back up your data. Given the ease with which Windows' and macOS' built-in tools handle the job, however, you're probably better off just using them.
You shouldn't ignore the option of storing your backups in the cloud, though. In terms of scalability, an off-site backup is a much better option, and It's certainly the more secure solution. What's more, apps like Cyclonis Backup give you many additional features and the added convenience of having access to your files from anywhere in the world.


