How to Protect or Lock Certain Cells in Google Sheets
Google Sheets is an incredibly useful tool – with its many functionalities, it is a small wonder that it has been referred to as "a spreadsheet app on steroids." For the most part, it appears and functions in a manner similar to any other spreadsheet tool. However, it has a distinct edge that puts it above and beyond any one of those desktop apps - it's an online app that has all of the bells and whistles of other spreadsheet tools, plus instant cross-platform connectivity and near unlimited collaboration opportunities.
Moreover, Google Sheets is a free service that is bundled with other goodies such as Google Drive, Docs, and Slides – all of which are extremely useful for both private individuals and companies who wish to store, create and share files, documents, and presentations online. As already mentioned, Google Sheets works on any device and is actually reasonably comfortable to handle on smaller iOS and Android devices.
Another great feature of Google Sheets is that users can augment their experience by downloading add-ons, and even create their own and write custom code to incorporate into the app.
However, probably the biggest boon of Google Sheets is that it enables and even encourages collaborative effort. It is incredibly easy and quick to create a document, invite collaborators over and start working on a project using Google Sheets and utilizing its varied and useful features, which is why it has become such a popular product.
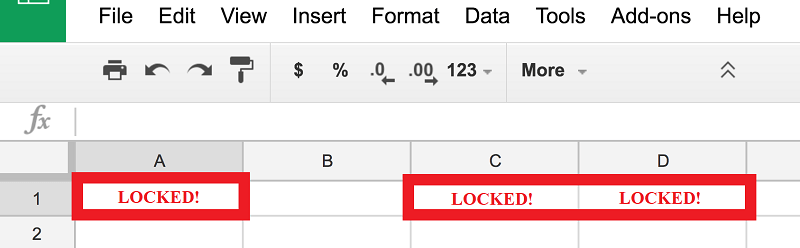
One of said invaluable features is the ability to lock certain cells in a spreadsheet, so that collaborators could not access parts of the sheet they aren’t authorized to. Here’s how you can make use of that particularly useful feature.
Table of Contents
How to Lock Cells in Google Sheets
- Open Google Sheets.
- Highlight a cell or range of cells that you want to protect.
- Click on “Data.”
- Select “Protected sheets and ranges” from the dropdown menu.
- Input a name for the range that you wish to protect.
- A the window will now pop up that gives you the option to "Restrict who can edit this range". Set the option to "Only you".
- Alternatively, you may choose tp add collaborators that will be given the privilege of editing this particular range of cells by choosing “Custom” at this stage, and then manually adding said collaborators to the list.
How to Lock Cells in Google Sheets – the Quick Way
- Open Google Sheets.
- Select range.
- Right click on the selected range.
- Choose “protect range”.
How to Set up Warnings for Editing Cells
NOTE: Doing this will not put any hard restrictions on editing a spreadsheet's cells in place. What it will do is put a warning system into action, which will allow users to make tweaks but will warn them to mind their edits.
- Open Google Sheets.
- Highlight a cell or range of cells that you want to protect.
- Click on “Data.”
- Select “Protected sheets and ranges” from the dropdown menu.
- Input a name for the range that you wish to protect.
- While in the permissions window, tick the “Show a warning” option before pressing “Done” to add the warning you wish to the editor.


