How to Create a Free iCloud Email Account?
Do you happen to own an iPhone or an iPad? More than likely you do own such a device considering how popular Apple is right now being the first trillion dollar company in the world and all that. But did you know you can create a free iCloud email address free of charge? No? Well, you do know. Each Apple device can only generate one iCloud account ending with @icloud.com. So what good is a free iCloud account then? Well, aside from being used for Apple's own services, your personal iCloud account can also work as an email address with the @icloud.com suffix. Sounds good, right? This guide will instruct you how you can generate an iCloud email address through your iPhone or iPad absolutely free.
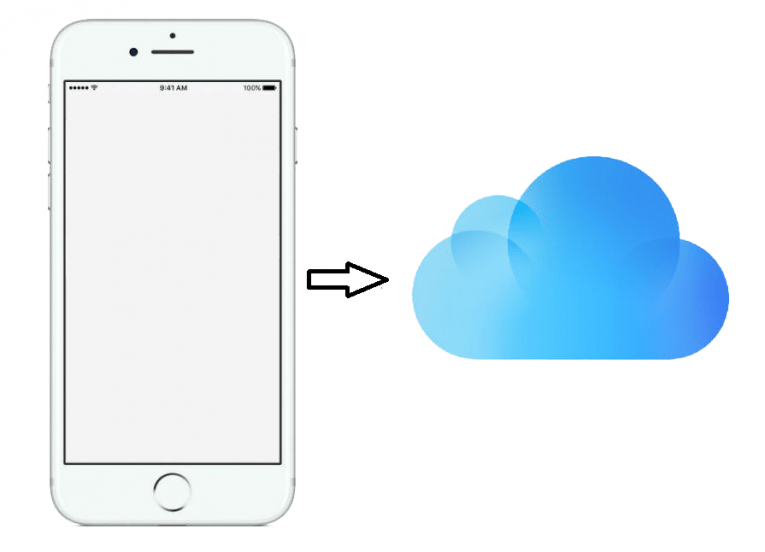
How to generate a free iCloud email Address on your iPhone and iPad.
To create a new, free Apple ID on your iPhone, you need to follow these steps:
-
- Press the "Home" button on your device to go to your device's Home screen.
- From there press the gear icon to enter the Settings menu.
- Once you have opened the Settings menu you must find the iCloud menu by scrolling down. Press "iCloud". Note: If you have already signed in with an iCloud account you will have to log out of it.
- In the iCloud menu, select the "Create a New Apple ID" option located in the lowest part of the screen.
- Enter your birthdate when prompted. Your birthdate is necessary for your iPhone or iPad to set up the best services for you.
- Enter your Name when asked. To do so press the First Name<'b> and Last Name tabs, and type your name.
- Press "Next" to proceed forward.
- You will see a button that says "Get a Free iCloud email address". Tap on it.
- Enter your chosen username. Note: Your preferred username must be unique and different from any other usernames that have already been used by other Apple users.
- Once you have selected your username, press the "Next" button located at the upper right-hand corner of the screen.
- Confirm the creation of your iCloud account when prompted and tap the "Create" button.
- Now you must enter a password. Passwords must be at least eight characters long they must be sufficiently complex containing a number, an uppercase letter, and a lower case letter.
- You will also have to choose three security questions, and also you will have to enter three answers for them.
- You can also choose to stay up to date with Apple news by toggling the Apple News option on.
- To do so tap on the "Next" button on the upper right-hand corner of the screen to proceed forward.
- Carefully read through the Terms and Conditions of use, then press "Agree" to continue.
- You need to re-confirm your agreement with the rules by tapping on the Agree button on the confirmation message again.
With that last step, you have successfully generated your very own free iCloud email account. Among the other things you can do with it now, you can use this account to sign-in into iCloud.
Your newly created iCloud email account will work just like a regular email account. You may send and receive email messages using iCloud or through a mail client using your @icloud.com email address.
If you had trouble understanding our instructions or if they didn't work you can contact us for additional info.


 Email Account?")


My account is hacked