How to Hide and View Hidden Files and Folders on Mac and Windows

While openness and transparency may often be the best policy when it comes to other people who share a computer with you, you may find yourself storing files on the said computer that you just don't want other people to see. It may not do anyone any harm, but it would be inconvenient and awkward if say, someone in the household stumbled on a Christmas gift list by accident. This is why it is convenient to be able to hide such files out of the direct line of sight of any other user that may have access to the same computer.
Users are advised to note that the hiding method is perfect if you just need to tuck some files away from prying eyes. However, simply using the “hide” feature of an OS will not do much to protect the said files from someone who knows that they exist and how to look for them. Doing so will dramatically decrease the chance of people stumbling across them randomly, but will in no way protect them from someone who’s determined to look for them and knows the ropes.
In short - to lock your files in a safe, you should use encryption. If you just want to just sweep them under the rug – follow the guides below.
Table of Contents
How to Hide Files on Windows OS
Hiding files on Windows OS is really simple – the feature is readily available, quick and easy to use.
- Select the files or folders you want to hide.
- Right-click and choose Properties.
- Click the General tab.
- Click the checkbox next to Hidden in the Attributes section.
- Click ”Apply”.
How to View Hidden Windows Files and Folders on Windows 8 or 10
- Click the “View” tab on the ribbon at the top of the ”File Explorer” window.
- Check off the “Hidden items” checkbox under ”Show/hide”.
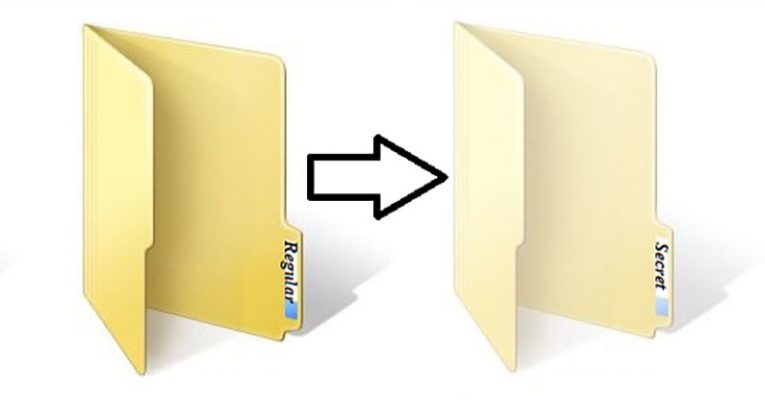
- NOTE: Hidden files and folders are sown as partially transparent icons - that way so the user can easily tell which ones are hidden.
How to View Hidden Windows Files and Folders on Windows 7
- Click the ”Organize button” on the toolbar.
- Select “Folder and search options”.
- Go to the View tab.
- Select the “Show hidden files, folders, and drives” option.
- Click OK or Apply to finish the job.
Hide Files on Mac OS X
Hiding a file or folder is a bit more difficult on a Mac than it is on a Windows OS. Unfortunately, there is no quick or convenient way to toggle the hidden attribute in the Finder’s graphical interface. Still, there is a way for you to mark a file or folder as hidden with the chflags command in the terminal.
- Оpen a Terminal window by pressing Command + Space.
- Type “Terminal” into the Spotlight search dialog, then press “Enter”.
- Input “chflags hidden ”, making sure to put the space at the end of hidden, and DON’T press Enter.
- Proceed to locate the file or folder you wish to make hidden in the Finder. Drag and drop it onto the Terminal window. Doing so will make the file or folder’s path appear in the terminal.
- Finish the job by pressing “Enter”, which will run the command.
How to view Hidden Files on Mac OS X
Mac OS X has a “secret” keyboard shortcut to view hidden folders and files - press Command + Shift + Period and those will be displayed. Keep in mind that this only works in Open and Save dialogs, but will not work in the Finder itself. Unfortunately, the Finder doesn’t have a graphical option for viewing hidden files and folders, which means that you will have to use a command instead. This command sets the Finder to always show hidden files, and restart the finder so the changes will take effect immediately.
How to view Hidden Files on Mac OS 10.9 Mavericks.
- Open a Terminal window by pressing Command + Space.
- Input the command “defaults write com.apple.finder AppleShowAllFiles TRUE” and press Enter.
- Input the command “killall Finder” and press Enter.
How to view Hidden Files on Mac OS 10.8 Mountain Lion, 10.7 Lion, and 10.6 Snow Leopard
- Open a Terminal window by pressing Command + Space.
- Input the command “defaults write com.apple.Finder AppleShowAllFiles TRUE” and press Enter.
- Input the command “killall Finder” and press Enter.
How to Hide Revealed Files Again
- Open a Terminal window by pressing Command + Space.
- Input the command “defaults write com.apple.finder AppleShowAllFiles FALSE” then press Enter.
- Input the command “killall Finder”.
NOTE: on older versions of Mac OS X, capitalize the F in “com.apple.Finder” as demonstrated above, otherwise the command will not work.


