How to Take a Screenshot of Your Games on PlayStation 4
So, you've finally cleared that stage that was giving you so much trouble or you managed to take down that tough boss that you've been fighting for days. Trust me, I've been there (looking at you Nameless King). When you finally manage to smash the brick wall with your head you naturally want to take a screenshot and show off to your friends, both online and in real life. The only problem is you don't know how to take a screenshot on your PlayStation 4. Well, have no fear. I'm here to help you out.
Thankfully, this isn't the PS1 era when taking screenshots was much more difficult than it is today. These days capturing and sharing your video game experiences is actually part of modern gaming. Newer consoles like the PS4 have social media-like functions in some ways and because of that easy screenshot functionality is built right into the PS4 and available from the moment you plug in the console. Here's how you can easily and quickly take screenshots on your PS4.
Table of Contents
How to take a screenshot on your PlayStation 4 console
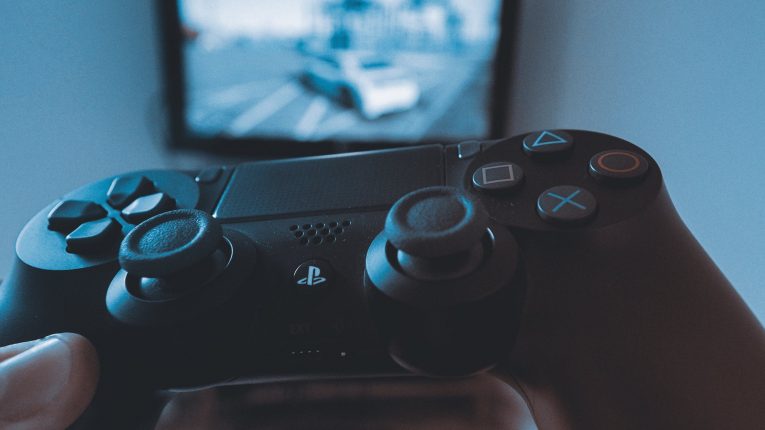
The act of actually taking a screenshot is pretty darn simple. All you have to do is look to the left of the touchpad on your DualShock controller and you'll find a button labeled "Share, which you can use to take screenshots of whatever you're playing at the moment as well as videos. Simply press down the Share button to capture and save a screenshot of whatever you have on your tv screen at that moment.
Also, you can quickly press the Share button, to bring up the Share menu. Don't worry, this pauses the game. From the Share menu, you can press triangle to save the screenshot or you can select "share screenshot" to upload your screenshot straight to your PSN activity feed and social media.
How to share your new screenshot
In order to share the screenshot immediately from the game, you have to press the Share button once to pause the game and bring up the overlay. Choose the Screenshot option and press the "X" button to be given a choice of channels through which you can share your images and videos.
If this is your first time sharing a screenshot through an external social network like Facebook or Twitter you'll be prompted to enter your username and password for verification purposes. Afterward, you are ready to share your gaming achievements at will in PlayStation's own own form of social media, the Activities feed, as well as indirect messages to your gaming buddies, or to any groups of which you are already a part of.
Keep in mind that if you wish to share screenshots later you can do so from Capture Gallery, which you can enter at any time by simply pressing the PS button and going through the home screen menu. It's very streamlined as your personal media is automatically sorted into screenshots and videos, as well as within folders by game. You only need to choose the screenshot you want to share with your friends and press the Share button, which will bring up the same options as in the above options.
How to save your screenshots into a flash drive
If you only want to save the original image files in their native JPG format, you can stick in a USB storage drive in your PS4 and directly export them. Keep in mind that only exFAT and FAT32 formatted devices are work with the PS4 so make sure you have the correct USB flash drives.
When you plug your USB drive in, you must navigate to the Capture Gallery from the home menu. Find the images you wish to share and press the Options button, this will bring up a menu on the right side of your tv screen. The menu has an option labeled "Copy to USB Storage Device." Select this one and press the X button, which will give you the ability to choose as many screenshots as you want to export en masse to the USB drive you have plugged in the console. The export process itself is pretty quick, and your screenshots will be put in the drive under the folders "PS4>SHARE>Screenshots". They will be sorted by games within Screenshots, of course.
