
Creating a Cyclonis Backup Account
NOTE: If you have already purchased a subscription to Cyclonis Backup, or have already registered and activated a Cyclonis Backup account, you should click the Login button at the top right of the Create a Cyclonis Backup Account window and enter your username and password. Alternatively, proceed as described below.
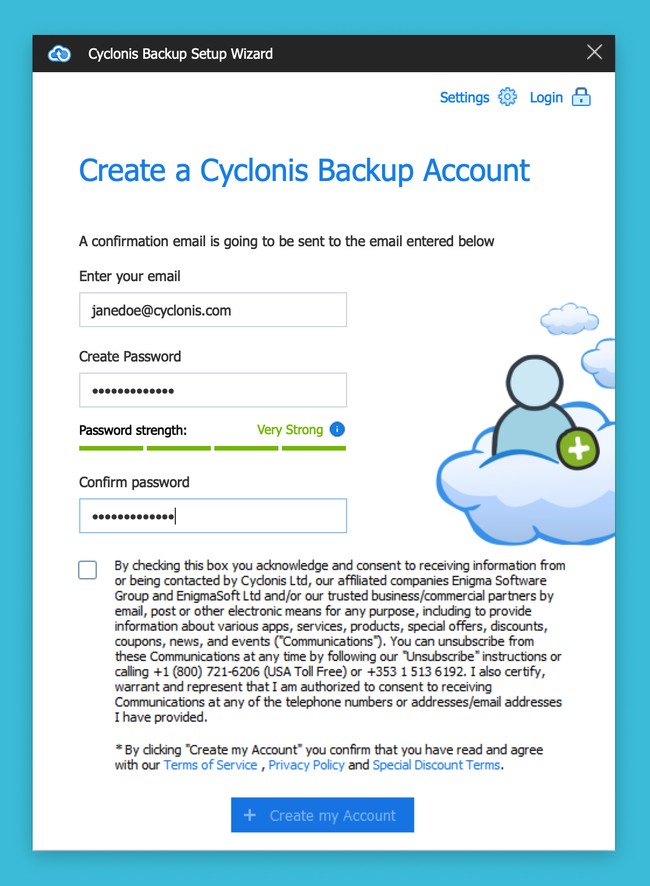
When you run Cyclonis Backup for the first time, you will be led directly to the Create a Cyclonis Account screen – the first step of the Initial Wizard that guides you through the account creation process. To complete this step:
- Enter your email - In order to create a new Cyclonis Backup account, you must enter a valid email address.
- Create password - This is the password that you'll use to log in to Cyclonis Backup. You can update your Cyclonis Backup password at your convenience in the Cyclonis Backup app Settings menu.
- Confirm password - Reenter your password to ensure that it was not mistyped.
NOTE: Typically, your password should be between 6 and 50 characters long. The password strength meter visible on this screen will show you an estimation of its strength. To allow you flexibility in choosing the password that you prefer, there are no additional specific requirements for the type of characters you need to use for your password. We encourage you to protect your Cyclonis Backup account with a strong, unique and private password.
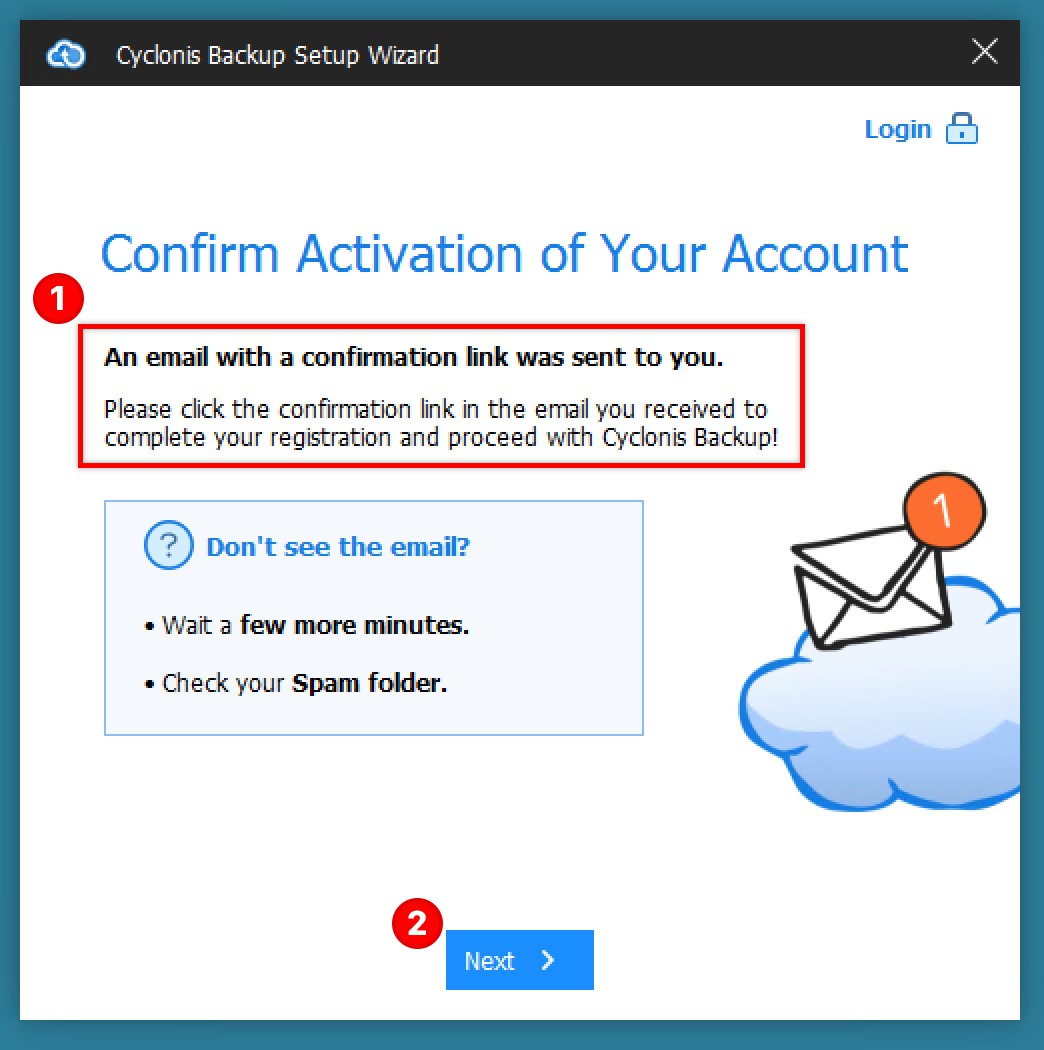
As part of the account creation process, Cyclonis Backup will send a confirmation link to the email address that you have entered. You will need to check your email and visit the link to activate your account. If the link doesn't arrive immediately, wait for a few minutes and check again. If you still cannot locate the confirmation email, you may wish to check your spam folder.
There are two additional buttons at the top right of the account creation screen:
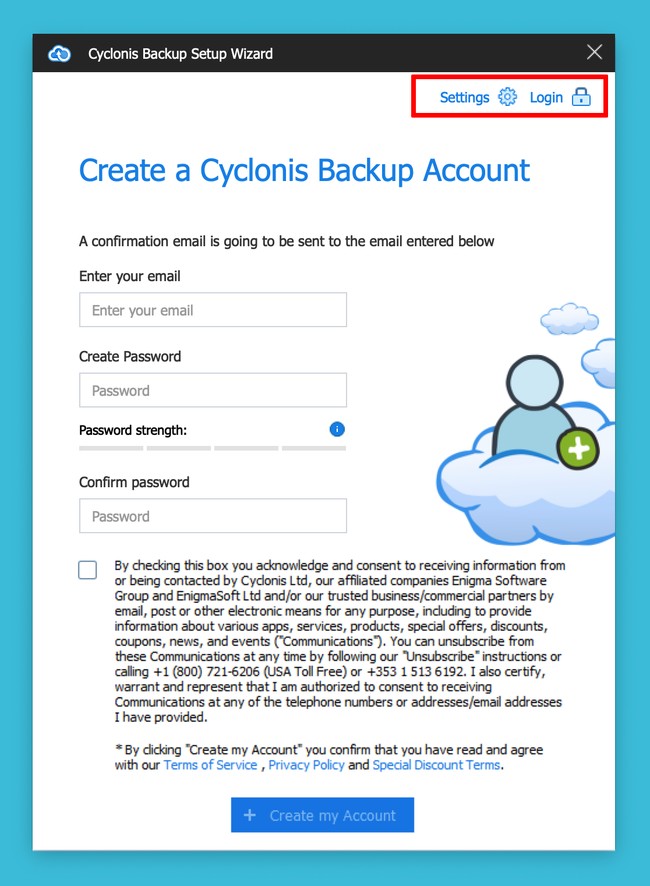
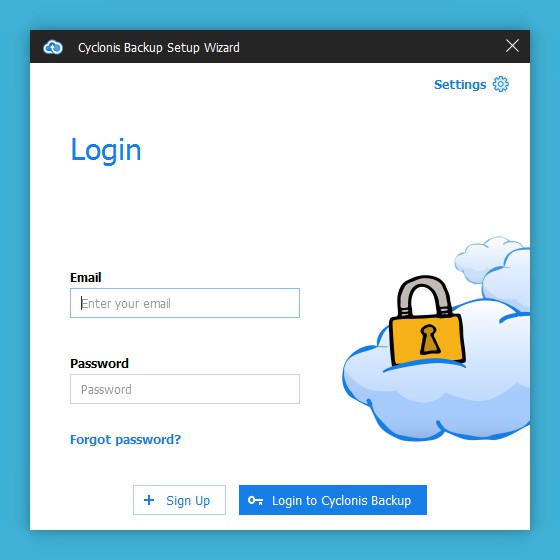
As mentioned before, if you have already registered a Cyclonis Backup account, you should click the Login to Cyclonis Backup button and enter your username and password at the next screen.

If you use a proxy, you can click the Settings button and add your proxy settings. Most users will not need to visit this section.
In the Cyclonis Backup activation email, click the link to verify your email address. The verification link should open a new browser window and lead you to a webpage that displays your Cyclonis Backup secret key.
NOTE: IT IS EXTREMELY IMPORTANT TO KEEP YOUR SECRET KEY SAFE. WITHOUT YOUR SECRET KEY, YOU CANNOT RESET YOUR CYCLONIS BACKUP PASSWORD IF YOU LOSE OR FORGET IT. WITHOUT YOUR PASSWORD, YOU WILL NOT BE ABLE TO ACCESS THE DATA YOU HAVE STORED WITH CYCLONIS BACKUP. YOUR SECRET KEY WILL ALSO BE SENT TO YOUR EMAIL. WE RECOMMEND THAT YOU PRINT OR WRITE IT DOWN AND STORE IT IN A SECURE PLACE.
Your Cyclonis Backup account is now active and ready to use!
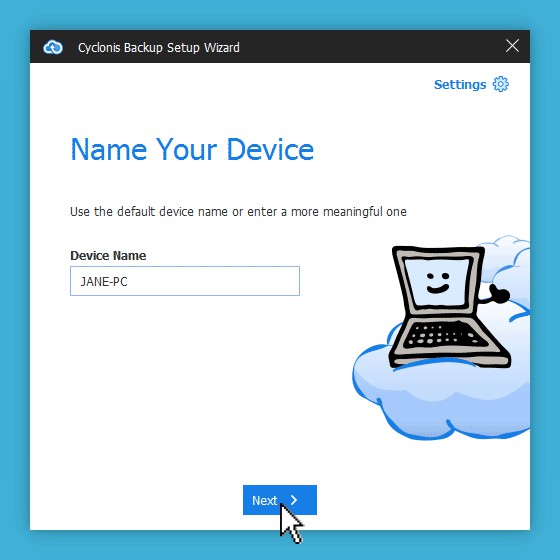
Next, return to the Cyclonis Backup app and click Next. Cyclonis Backup will now ask you to pick a name for the device you're using to create your account. This helps you to manage your backups if you use Cyclonis Backup on multiple devices. By default, Cyclonis Backup will display the computer name from your device's operating system settings. You may wish to edit the default name to a name of your choosing. If you wish, you can rename your device later.
NOTE: If you are using Cyclonis Backup on more than one device, each device must have a unique name. For example, you may wish to name one device John's Home PC and another device John's Office MAC.
After selecting a name, click Next to start creating your first backup.
